
Contents
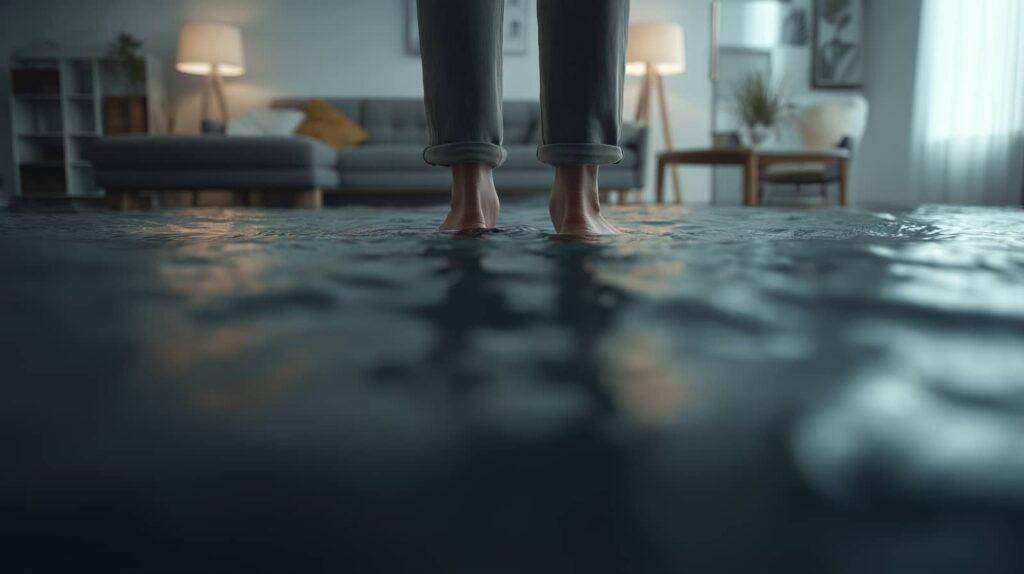
When a burst pipe turns a hallway into a shallow lake in minutes, you learn how fast damage spreads. In the first 24 hours, you need to stop the water, secure the area, trace the source, and inspect walls, floors, and ceilings for hidden impact. You’ll also need to watch for mold, sewage, and moisture you can’t see, then document everything for insurance before deciding what gets dried, repaired, or replaced next.
Key Takeaways
- Document all affected rooms with photos, timestamps, water lines, staining, and damaged materials immediately.
- Shut off the water source, isolate the area, and turn off nearby electrical power for safety.
- Inspect leak sources, structural damage, and hidden moisture using moisture meters and visual checks.
- Check for mold, odors, discoloration, and sewage contamination; use protective gear and restrict access.
- Communicate findings clearly, then choose drying, repairs, or full restoration based on moisture readings and material salvageability.
24-Hour Water Damage Checklist
Within the first 24 hours, you need to act fast and systematically to limit structural damage, mold growth, and loss of contents.
Document every affected room with photos and timestamps, then record water lines, wet materials, and visible staining. Notify emergency services if hazards exist, and contact your insurer to start insurance claims.
Remove loose contents you can safely carry, and separate salvageable items from saturated debris. Inspect drywall, baseboards, flooring, insulation, and cabinetry for swelling, delamination, or discoloration.
Measure humidity and note odors, since these signal hidden moisture. Keep a written log of actions, costs, and vendor contacts.
Your checklist should stay organized, because precision helps you advocate for your home and move forward with confidence as part of a community recovering together.
Stop the Water and Secure the Area
Shut off the water source at the main valve or fixture supply immediately to halt further intrusion and limit structural saturation.
Next, isolate the affected zone and protect nearby electricals by switching off power at the breaker if water has reached outlets, appliances, or wiring.
Keep the area restricted until you’ve confirmed the source is controlled and the electrical hazard is eliminated.
Shut Off Water Source
Immediately stop the flow of water at the nearest safe shutoff point to limit further structural damage and reduce the risk of electrical hazard.
Locate the main water valve and turn it clockwise until it seats firmly. If the valve resists, don’t force it; use a wrench only if your site procedures allow it.
Confirm that fixtures stop running and that pressure drops. If you can’t access the main, isolate the affected branch line instead.
Keep your emergency kit close, and document the shutoff time for the restoration record. Share the status with everyone on site so your team stays aligned and the area remains controlled.
Once the source is off, inspect for continuing seepage and prepare for the next assessment step without delay.
Protect Nearby Electricals
Once the water is off, you need to protect nearby electrical equipment before you continue the assessment. Switch off power at the breaker if you can reach it safely, and keep your hands dry.
Move portable devices, cords, and power strips away from standing water, then unplug them only when the area is dry enough to avoid shock. If appliances can’t be moved, isolate the zone and mark it clearly so no one enters.
For electrical safety, never test outlets or switches that may have been wet. Use surge protection only after a qualified inspection confirms the circuit is dry and stable.
When you work this methodically, you protect your team, your property, and the recovery process.
Find the Source of the Water Damage
Inspect visible leak points first, including ceilings, walls, fixtures, and appliance connections, so you can identify the most likely failure location.
Then trace the water path across surfaces and structural cavities to distinguish the entry point from the visible damage area.
Check plumbing sources directly, including supply lines, drains, valves, and joints, because active plumbing defects often cause hidden intrusion.
Inspect Visible Leak Points
Water staining rarely appears without a culprit, so trace the damage back to any visible leak points before you make repairs. You should inspect supply lines, shutoff valves, hose bibs, appliance hookups, fixtures, and exposed joints for active drips, corrosion, mineral tracks, or loose fittings.
Use visible leak identification to confirm where moisture is escaping, then perform leak point analysis on each suspect area to verify whether the leak is intermittent or constant. Check caulked seams, plumbing penetrations, and fastener holes for failed seals.
If you see wet insulation, rust, or swollen materials, document the location and severity immediately. Stay methodical and trust the process; precise inspection helps your team move with confidence and keeps the assessment aligned with the rest of the restoration plan.
Trace Water Pathways
After you’ve ruled out obvious leak points, map how the water traveled so you can pinpoint the source with confidence. You should trace staining, swelling, and discoloration from the furthest wet area back toward the origin.
Follow gravity, capillary action, and airflow shifts that redirect water flow through cavities and along framing. Use moisture detection to verify hidden migration, especially where surfaces look dry but remain damp below. Mark each changeover point, compare elevations, and note where saturation intensifies.
- Inspect baseboards, trim, and seams for directional patterns.
- Check subfloors, insulation, and wall voids for concealed spread.
- Record readings to distinguish active movement from residual moisture.
This method keeps you aligned with the evidence and helps your team act decisively.
Check Plumbing Sources
Turn your attention to the plumbing system, since pressurized and drain lines are common hidden sources of water damage. You should inspect supply valves, shutoffs, traps, joints, and appliance connections for active dripping, staining, corrosion, or mineral buildup.
Use leak detection tools, including moisture meters and acoustic sensors, to confirm suspicious areas behind walls, under sinks, and near water heaters. During plumbing inspections, note whether damage patterns align with a single fixture or a broader line failure.
If you find a leak, isolate the branch and document the location, severity, and affected materials. Quick identification helps you protect the structure, coordinate repairs, and keep your team aligned.
When you work methodically, you reduce guesswork and move closer to a complete source determination.
Check Walls, Floors, and Ceilings for Damage
Inspect every wall, floor, and ceiling surface for visible distortion, staining, or structural movement. You should document wall discoloration signs, floor warp indicators, and ceiling stain patterns with photos and notes.
Run moisture meter readings at affected and adjacent areas to confirm whether the material remains elevated. Compare readings across drywall, trim, subfloor, and joists so you can map the damage accurately. In a coordinated assessment, you’ll spot delamination, cupping, sagging, or soft spots before they spread.
If you belong to a crew, share findings immediately so everyone works from the same data set.
- Mark boundaries with painter’s tape.
- Record the exact location and depth.
- Recheck after thirty minutes.
Look for Mold, Sewage, and Hidden Moisture
With walls, floors, and ceilings mapped, you need to check for hidden contamination that often follows water intrusion.
Scan baseboards, drywall seams, insulation, and subfloors for discoloration, musty odor, or fuzzy growth. Those signs point to active mold, and quick mold prevention starts with drying affected areas and improving airflow.
If you see dark residue, bubbling finishes, or contaminated backflow, treat it as sewage cleanup territory and keep out of the zone.
Use moisture detection tools to find damp pockets behind finishes and inside cavities, because surface dryness can hide saturated material.
Protect your household by isolating affected rooms, wearing gloves and a respirator, and watching for health risks like respiratory irritation or infection.
Document Water Damage for Insurance
Before you start repairs, document every sign of damage for the insurance claim. You should create clear insurance documentation so your water damage claims stay credible and complete. Photograph each affected room, ceiling, wall, baseboard, and item from multiple angles, then add close-ups of stains, swelling, and saturation.
Record the date, time, source, and room location for every image and note any temporary controls you used. Keep receipts for emergency supplies and preserve damaged materials when possible.
- Use a timestamped log
- Match photos to room names
- Save copies in one secure folder
When you speak with your adjuster, present facts in a calm, organized way. Thorough documentation helps you join a well-prepared group of homeowners who prove loss efficiently and avoid disputes.
Decide on Drying, Repairs, and Restoration
Now decide whether the damage calls for drying, repairs, or full restoration based on what you found and how long materials stayed wet.
You should prioritize rapid moisture removal for clean, nonporous surfaces and salvageable structural members. Use targeted drying techniques such as air movement, dehumidification, and controlled heat to stabilize framing, subfloors, and drywall that hasn’t delaminated.
If you detect swelling, microbial odor, or insulation saturation, plan repairs instead of simple drying.
For widespread contamination, warped assemblies, or prolonged saturation, choose restoration options that include removal, replacement, and sanitization.
You’re not alone in this process; a disciplined assessment helps your team make the right call fast. Document each decision, verify dryness with meters, and proceed only when materials meet acceptable moisture thresholds.
Frequently Asked Questions
How Long Does a Water Damage Assessment Usually Take?
It usually takes you 30 minutes to 2 hours. Assessment duration varies with property size and moisture spread, while damage evaluation needs detailed inspection, documentation, and testing to confirm hidden impacts and guide repairs.
Can I Stay in My Home During the Assessment?
Yes, you can usually stay, if you prioritize home safety. You’ll need to limit access while the assessment process occurs, because inspectors may test moisture, electrical hazards, and contamination risks before confirming occupancy.
What Tools Do Professionals Use to Detect Hidden Moisture?
You’ll see professionals use moisture meters and thermal imaging to detect hidden moisture. A lot of damage hides behind surfaces, so these tools help you achieve a faster, more accurate restoration process.
Will My Insurance Cover Emergency Water Extraction?
Maybe—check your insurance policies, because coverage for emergency water extraction usually depends on the source of your water damage, your deductible, and exclusions. You’ll need prompt documentation and immediate mitigation to strengthen your claim.
Should I Hire a Contractor Before the Insurance Adjuster Arrives?
Yes, you can hire a contractor first, but you should document everything and notify your insurer immediately. Contractor benefits include faster mitigation; insurance implications depend on prior approval, scope control, and itemized estimates.
Review
In the first 24 hours, you set the tone for recovery. Stop the water, verify the source, inspect every affected surface, and check for mold or contamination before damage spreads. Document each area with photos, timestamps, and notes so your insurance claim stays solid. Then decide on drying, repairs, or full restoration based on the evidence. When you act fast and stay methodical, you’re not just surviving the damage—you’re staying ahead of the curve.


