Contents
Mold Prevention is essential after water damage because mold can begin developing quickly, often before visible signs appear. You need to stop the source of moisture, dry affected areas within the recommended timeframe, and remove soaked materials before mold spores have a chance to spread. Proper cleaning, humidity control, and inspections of hidden spaces can help identify early warning signs that are easy to overlook. If the damage is extensive or moisture continues to remain, professional mold specialists can help protect indoor air quality and identify problems that may still be hidden.
Key Takeaways
- Stop the water source immediately and move wet belongings away from the affected area.
- Dry all damp surfaces within 24 hours using fans, dehumidifiers, and good airflow.
- Remove soaked drywall, insulation, and carpets before hidden moisture can grow mold.
- Clean and disinfect hard surfaces, and inspect hidden spaces for dampness or musty odors.
- Call mold remediation professionals for extensive damage, persistent moisture, or visible mold growth.
Stop Water Damage Immediately
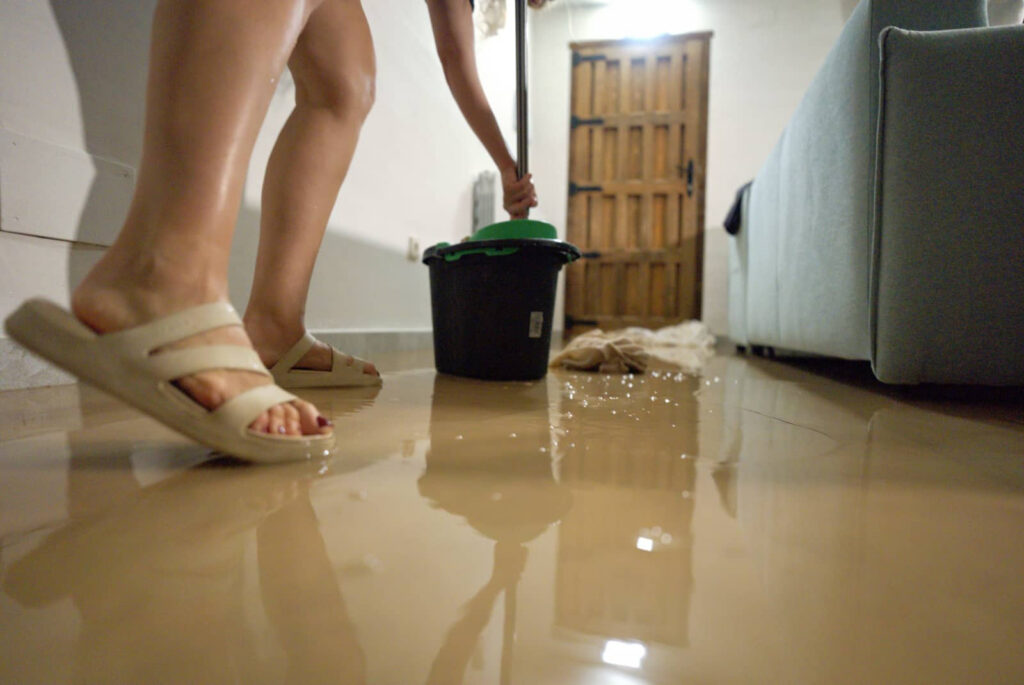
When you notice a leak, spill, or flood, act fast to stop the water source and limit how far it spreads. Shut off valves, flip the main supply if needed, and unplug nearby electrical devices only if it’s safe.
Move furniture, rugs, and belongings away from wet areas so you can protect what matters most. If the issue is beyond your control, call a plumber, utility provider, or restoration team right away; that emergency response helps you contain damage before mold can take hold.
You’re not handling this alone—quick, calm action keeps your home safer and gives your household a stronger recovery path.
Check ceilings, walls, and floors for new moisture, then document what you see so you can track the problem and coordinate repairs efficiently.
Dry Water-Damaged Areas Within 24 Hours
You need to remove moisture fast, ideally within 24 hours, to limit mold growth and secondary damage.
Increase air circulation with fans, open vents, and dehumidifiers so wet surfaces dry evenly and completely.
Check hidden materials like insulation, drywall cavities, and subflooring, since trapped moisture can keep feeding mold even after visible areas seem dry.
Rapid Moisture Removal
Act quickly to remove moisture from any water-damaged area, because mold can begin growing within 24 to 48 hours. You should identify all moisture sources, including soaked carpets, wet insulation, and hidden wall cavities, then remove or dry them fast.
Focus on humidity control by keeping indoor conditions low while you work, since damp air slows recovery and supports mold growth. Blot standing water, extract saturated materials, and open cabinets, closets, and under-sink spaces so trapped moisture doesn’t linger.
Check baseboards, flooring, and furniture for dampness, and keep monitoring until surfaces feel dry to the touch. When you act now, you protect your home and join others who handle water damage with confidence, control, and practical care.
Improve Air Circulation
Improve air circulation right away so water-damaged materials dry within 24 hours and mold has less chance to take hold. You can set fans to move air across wet surfaces, and you should open windows only when outdoor air is dry.
Use airflow techniques that push stale air out and draw fresh air in, especially near baseboards and corners. If your home has ventilation systems, run them continuously to keep humidity lower and support faster evaporation.
Check that furniture isn’t blocking vents, and keep doors open between rooms when it helps airflow. You’re not dealing with this alone; these steps give your space a better recovery path.
Stay consistent, because steady circulation helps protect materials, reduce musty odors, and restore comfort.
Dry Hidden Materials
Once airflow is in place, focus on hidden moisture in cavities, subfloors, insulation, and behind wall coverings, because these areas can stay damp long after visible surfaces seem dry. You’ll protect your space by opening access points, lifting baseboards, and checking for cool, dark, or musty pockets.
Drying within 24 hours reduces mold risk and helps your home recover faster.
- Use moisture meters on framing and drywall.
- Remove wet insulation when insulation concerns persist.
- Run fans and dehumidifiers until readings normalize.
If you find hidden moisture, act quickly and keep notes so you can track progress with your crew. You’re not alone in this process; careful drying gives your household a safer, healthier reset.
Remove Water-Damaged Materials
If water has soaked drywall, insulation, carpet, ceiling tiles, or particleboard, remove those materials as soon as they’re no longer salvageable. You’ll slow mold growth by clearing anything that stays damp and can’t dry quickly.
Wear gloves, eye protection, and a respirator, and follow safety precautions before you start. Cut away damaged sections in manageable pieces, bag them right away, and keep them out of living spaces during material disposal.
Work methodically so you don’t spread debris into clean areas. If you’re unsure whether a material can be saved, choose removal instead of risking hidden moisture.
You’re protecting your home and the people who share it with you, and that steady, practical approach helps everyone feel safer after the damage.
Clean and Disinfect the Area
Remove any contaminated debris first so you’re not trapping mold spores in the area.
Then scrub all hard surfaces with a detergent solution to lift residue and visible growth.
After cleaning, apply a mold disinfectant as directed to help reduce remaining contamination and support a safe, dry finish.
Remove Contaminated Materials
Take out any porous materials that mold has contaminated, since drywall, insulation, carpet, and ceiling tiles often can’t be fully cleaned and may need disposal. You’re protecting your space and your health when you remove these contaminated materials promptly and seal them in heavy bags.
Handle debris carefully to limit spore spread, and keep pathways clear so cleanup stays organized.
- Wear gloves, an N95, and eye protection.
- Bag waste tightly for proper disposal.
- Label items so others know what stays out.
After removal, check hidden cavities for leftover dampness, then dry the area fast to support the next cleaning step.
If the damage feels overwhelming, you’re not alone—reach out to a qualified pro who can help you finish the job safely.
Scrub All Surfaces
Once the area is clear and dry, scrub every remaining hard surface with warm water and detergent to lift visible dirt and mold residue. Then apply a disinfectant that’s labeled for mold or mildew and follow the contact time on the product instructions.
Use effective scrub techniques: work from top to bottom, rinse your cloth often, and switch to a clean pad when buildup returns. Focus on trim, framing, subfloors, and other nonporous areas that can still hold residue. You’re protecting the space for everyone who shares it, so be thorough but controlled.
If a surface stays stained or soft, replace it with mold resistant materials during repairs. Keep airflow steady while you work, and finish by checking that no grime remains in corners, seams, or fasteners.
Apply Mold Disinfectant
Apply a mold-specific disinfectant to the cleaned surfaces, making sure every product you use is labeled for mold or mildew and approved for the material you’re treating.
Choose from common mold disinfectant types, like quaternary ammonium, hydrogen peroxide, or EPA-registered fungicides, then match the product to the surface. Use application techniques that keep the area evenly wet for the contact time on the label.
- Wear gloves, eye protection, and a respirator if the label requires it.
- Spray or wipe from the cleanest area toward the dirtiest to avoid spread.
- Let the surface dry completely before you restore items.
You’re not doing this alone; each careful pass helps protect your space and keeps your home safer for everyone who belongs there.
Lower Humidity and Improve Airflow
When humidity stays high, mold can spread quickly, so you should keep indoor moisture under control and maintain steady airflow.
Choose dehumidifier options that match the room size, and set them for reliable humidity control. Use ventilation techniques like exhaust fans and open windows when weather allows, and make airflow improvements by spacing furniture away from walls.
Check HVAC maintenance, replace filters on schedule, and seal leaks with moisture barriers. Add insulation strategies where cold surfaces create condensation, and follow weatherproofing tips around doors and windows.
If water has pooled outside, use drainage solutions to move it away from the foundation.
These steps help protect air quality, reduce dampness, and keep your home feeling safe and comfortable for everyone in it, especially after a water damage event.
Check Hidden Spots for Mold
Even if the visible surfaces look dry, you should check hidden spots for mold because it often starts where moisture lingers out of sight.
Focus on hidden mold in common locations like behind baseboards, under sinks, inside cabinets, and around insulation. Use practical detection methods and inspection tips: look for dampness, test suspect areas with a flashlight, and note moisture sources from leaks or condensation.
- Lift materials and check surface studies on drywall edges.
- Inspect crawlspaces, attics, and HVAC closets carefully.
- Record findings so your prevention strategies stay targeted.
These checks protect air quality, reduce long term effects, and limit health concerns before they spread.
You’re not alone in this process; careful inspection helps your home feel safer, cleaner, and more secure.
Watch for Early Mold Warning Signs
Watch for early mold warning signs so you can act before a small issue turns into a bigger problem. You may notice a musty odor, discoloration, peeling paint, or damp surfaces that don’t dry.
Look closely at drywall, baseboards, and around windows after leaks or flooding. Different mold types can appear as green, black, white, or gray patches, but color alone doesn’t confirm what you’re seeing.
Track any changes in texture, because fuzzy, slimy, or powdery growth often signals active moisture. Stay alert to health impacts such as coughing, sneezing, throat irritation, or headaches, especially if symptoms ease away from the area.
When you spot these clues early, you’re protecting your home and helping everyone feel safer together.
Call Mold Remediation Experts When Needed
If the warning signs keep spreading or you’re dealing with a large area of growth, bring in a mold remediation expert right away. You’ll get a thorough mold assessment that identifies hidden moisture, affected materials, and air quality concerns.
A professional consultation helps you choose the safest fix, whether that means containment, HEPA filtration, or selective removal. You shouldn’t try to scrub away extensive colonies yourself; that can release spores and widen the problem.
- Verify the crew uses proper containment and negative air pressure.
- Ask for moisture readings and a written remediation plan.
- Follow post-cleanup drying and monitoring steps closely.
When you call in experts, you protect your home, your health, and your peace of mind. You’re not alone here; skilled help keeps you on track.
Frequently Asked Questions
How Long Does Mold Take to Grow After Water Damage?
Mold can start growing within 24 to 48 hours after water damage, depending on water damage factors. You’ll want to dry materials fast, because the mold growth timeline shortens in warm, humid, or damp spaces.
Can I Use Bleach on Every Moldy Surface?
No, you shouldn’t. Bleach can’t safely treat every moldy surface; it’s useless on porous materials and harsh on some finishes. Use mold removal techniques and safe cleaning methods, and you’ll protect your space together.
Does Insurance Cover Mold Prevention After Flooding?
Usually, your insurance policy coverage doesn’t include mold prevention after flooding unless it follows a covered loss. You can review mold remediation options, document damage, and ask your insurer about exclusions, limits, and temporary mitigation costs.
Which Household Items Are Most Likely to Hide Mold?
You’ll often find mold in sponges, shower curtains, HVAC filters, carpet padding, under-sink cabinets, and upholstered furniture, where hidden moisture lingers. Check mold prone areas regularly, dry them fast, and you’ll protect your home.
When Should I Test Indoor Air for Mold Spores?
You should test when you smell musty odors, see visible growth, or feel unexplained symptoms—when shouldn’t you? After leaks or flooding, mold testing can confirm air quality and guide your next steps.
Final Thoughts
When water damage strikes, you need to act fast, because mold does not wait. Stop the leak, dry the area within 24 hours, remove soaked materials, and clean every surface with care. Lower humidity, boost airflow, and inspect hidden spots like a detective following a faint trail. If you spot early warning signs or suspect hidden growth, call mold remediation experts. Your quick response can keep your home safe, healthy, and mold-free.